Buzzrail Screed Rail Chairs Designed by Concreters for Concreters
Buzzrail screed rail chairs, manufactured by Buzzconc, offer a cost-effective and versatile solution for screed rail systems.
Buzzrail Screed Chairs
Built for Speed, Strength & Smoother Pours
Buzzrail Screed Chairs are the latest innovation from BuzzConc—purpose-built for concreters who demand efficiency, durability, and consistent results.
These newly designed, fully galvanised chairs are the perfect match for the Lura roller screed and work seamlessly with a wide range of screeding methods. Quick to set up and easy to use, they help you achieve flatter, more consistent pours with less hassle on-site.
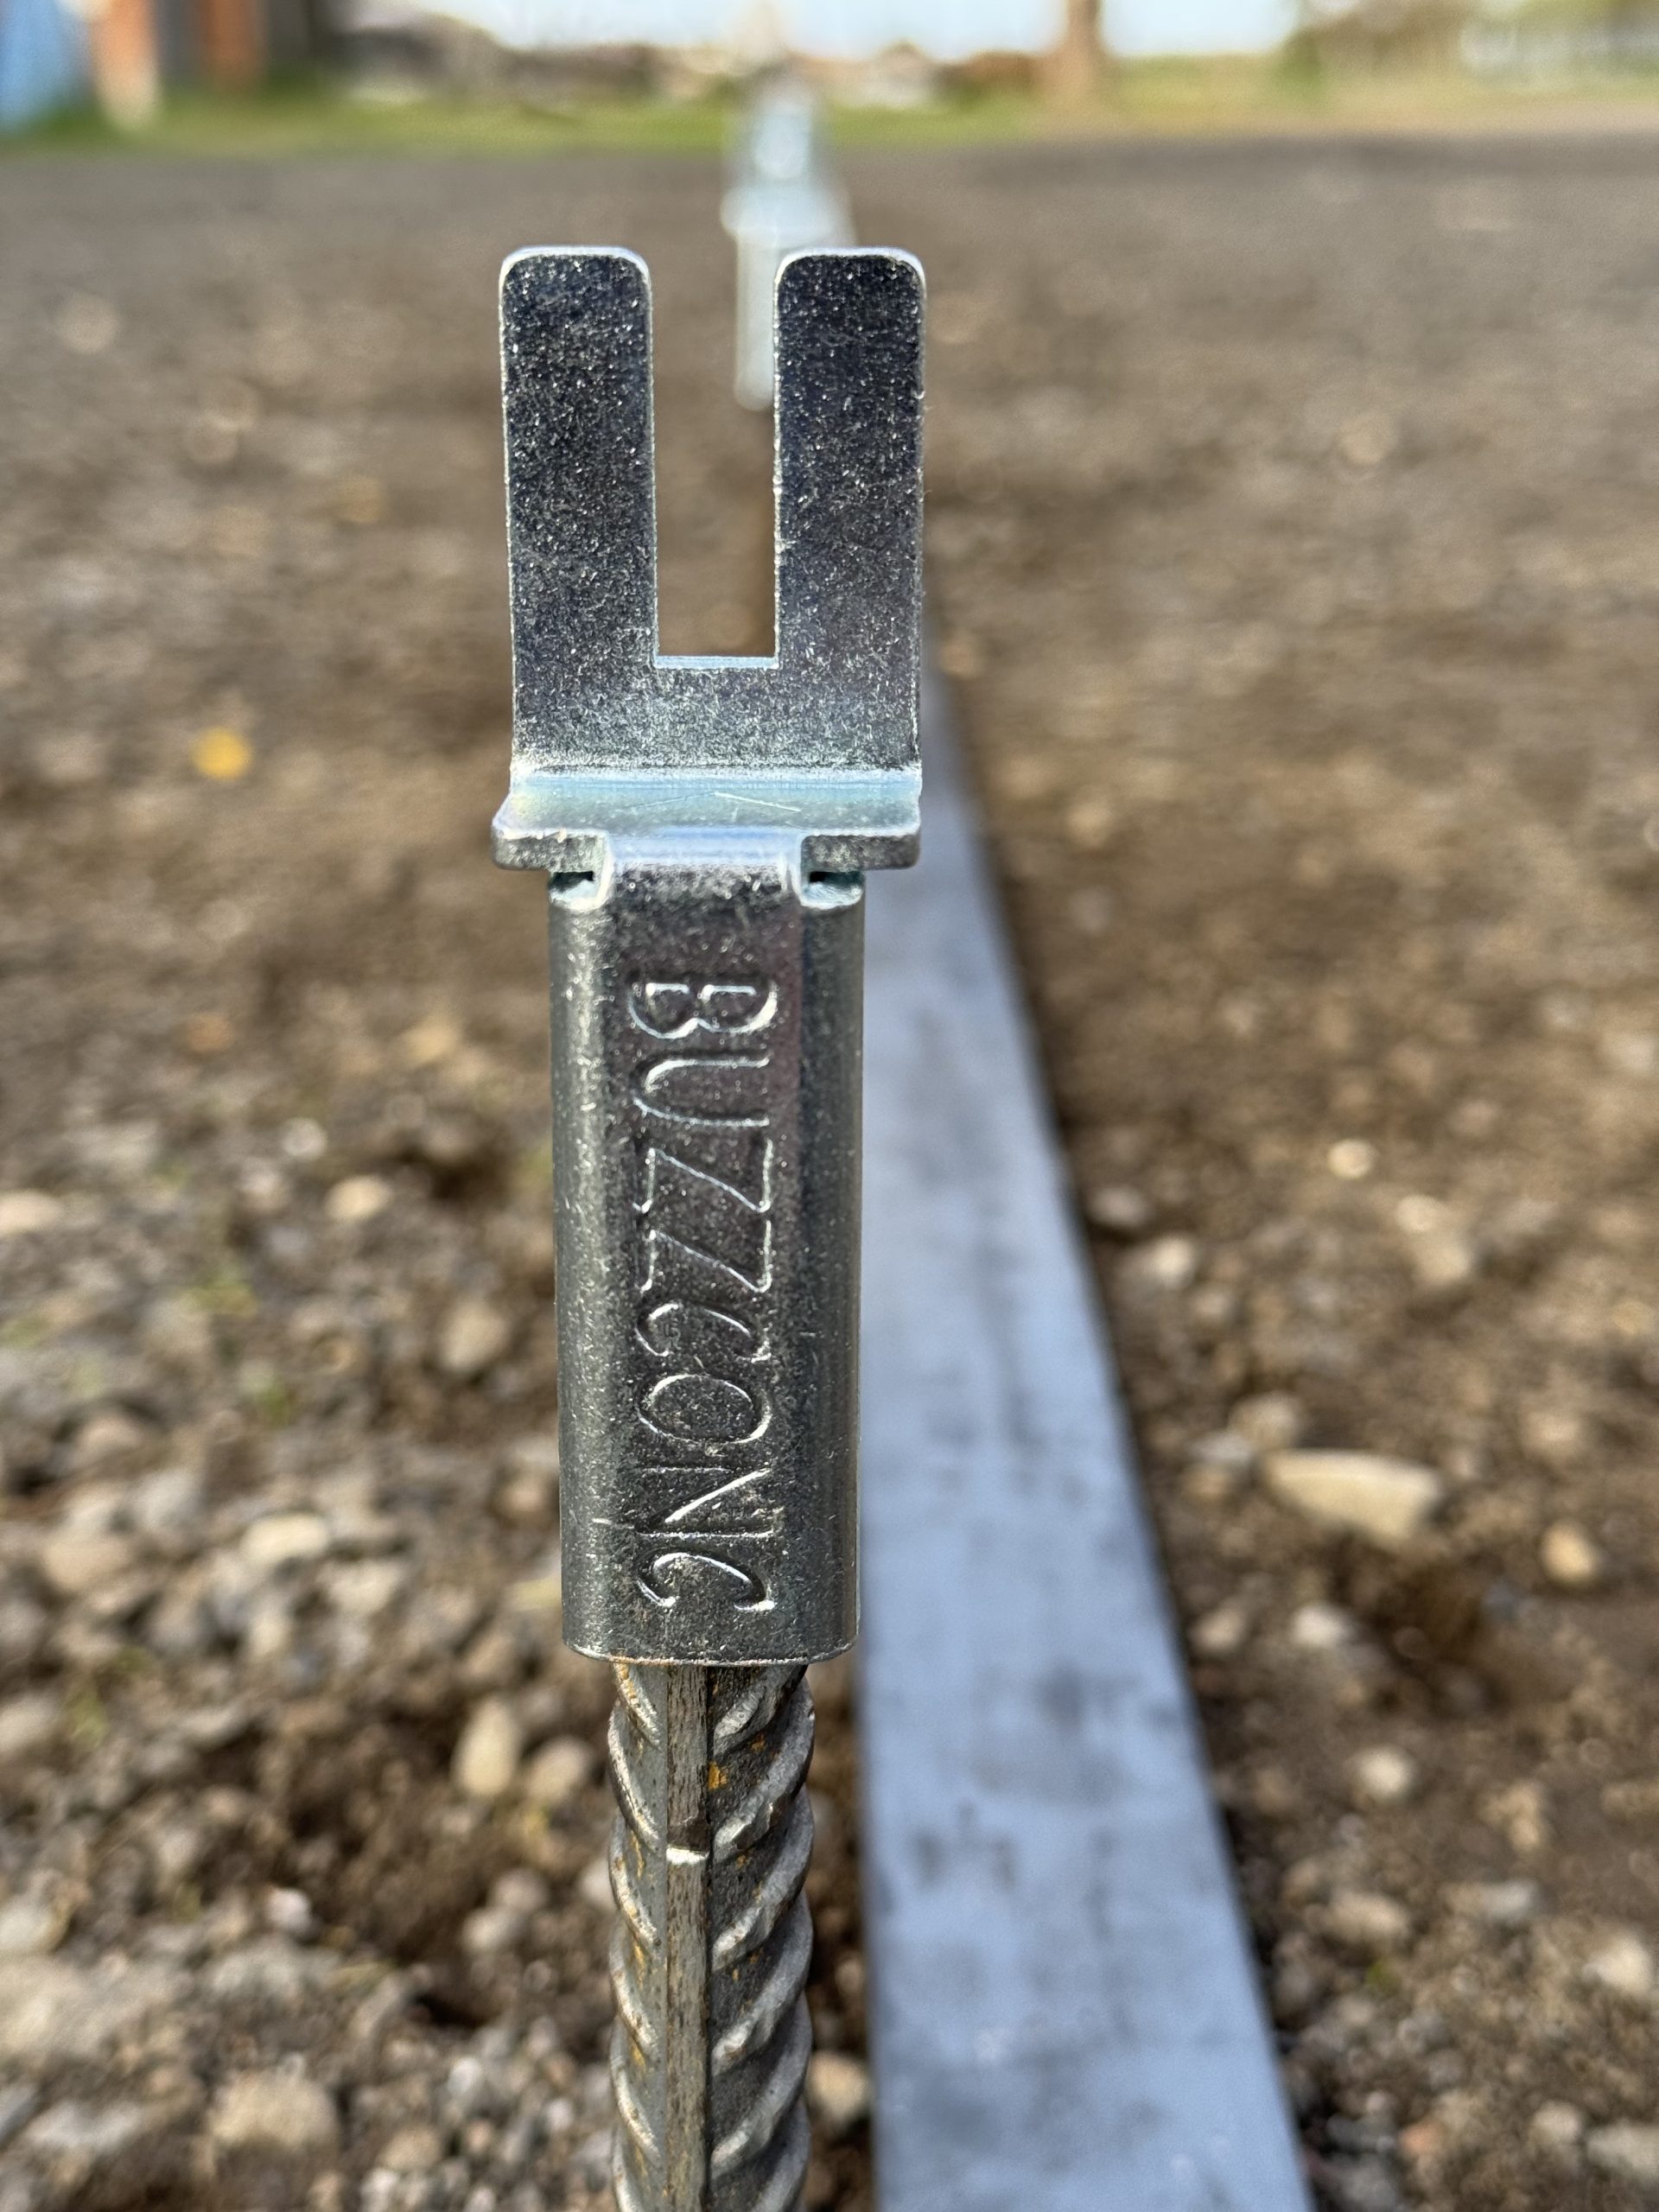
Key Features:
- Designed to fit 6mm x 40mm flat bars
- Fully galvanised for long-lasting durability in tough conditions
- Speeds up screeding with faster setup and consistent results
- Compatible with roller screeds, vibrating screeds, truss screeds, and traditional hand screeds
- Ideal for level slabs and slab-on-grade applications
Buzzrail screed chairs offer a cost-effective, versatile solution for modern screed rail systems—made for concreters, by concreters.
Buzzrail Installation Guide
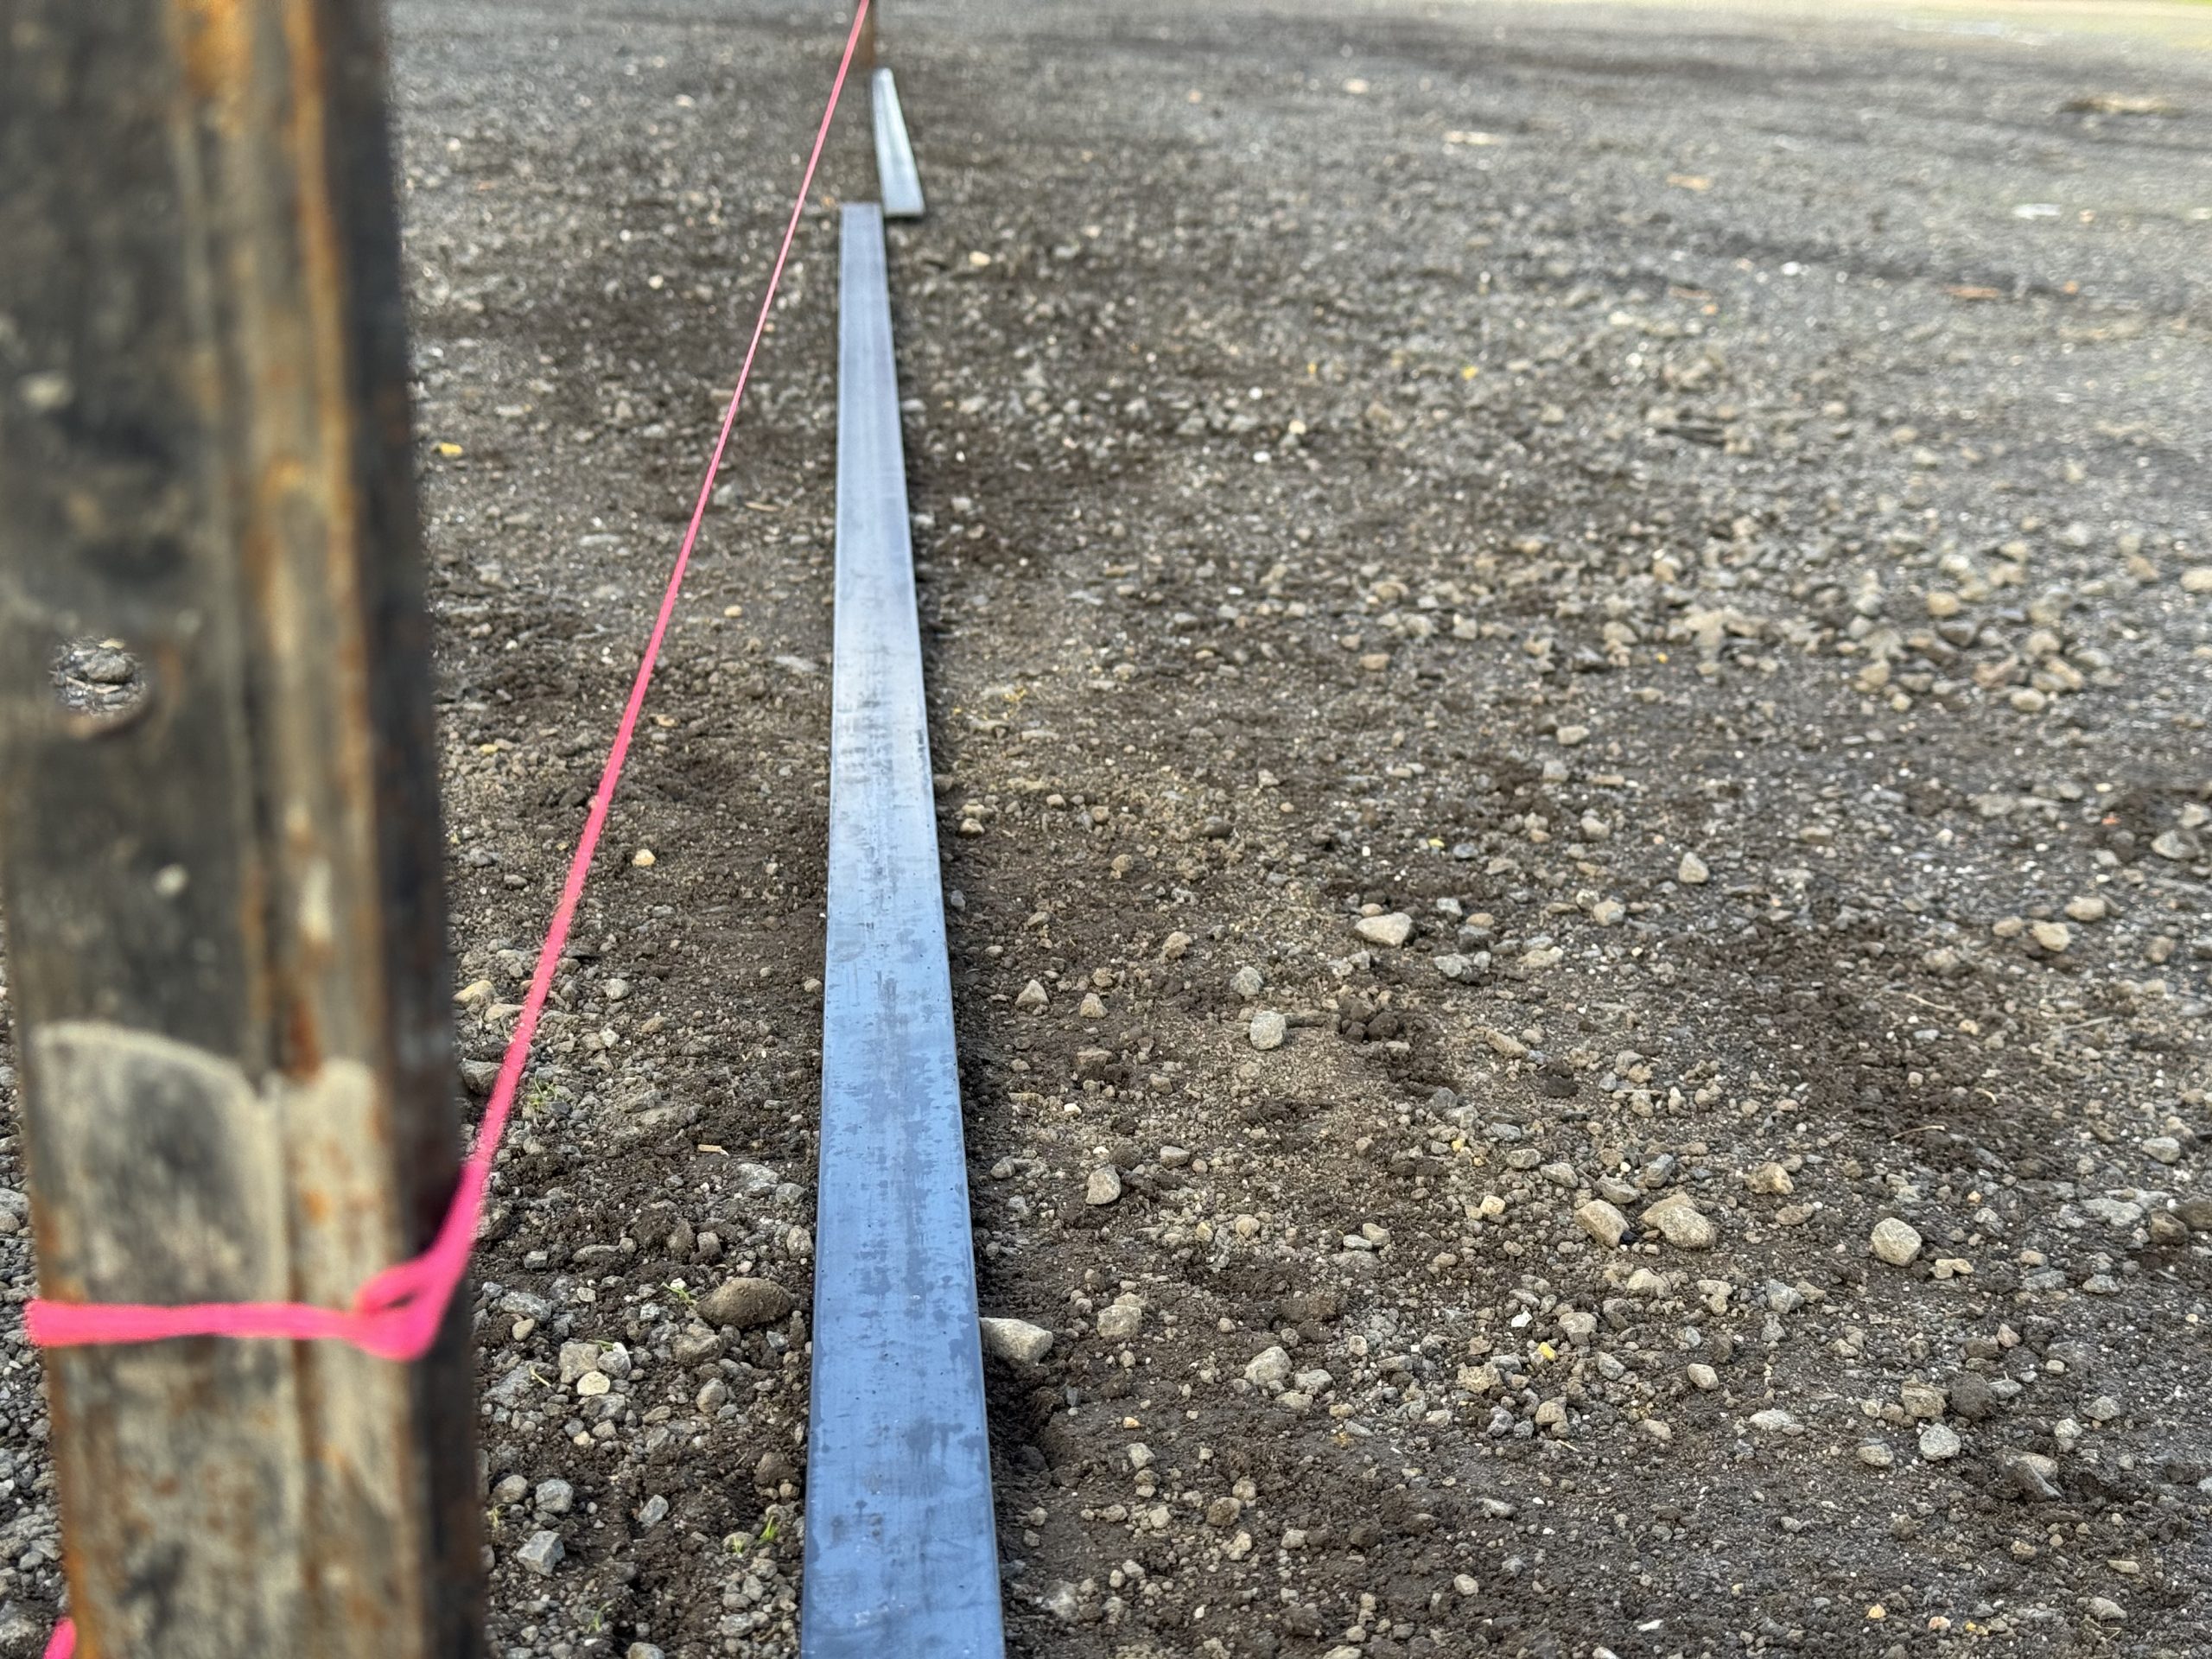
Step 1
Set your stringline or laser level 50mm below the finished concrete height.
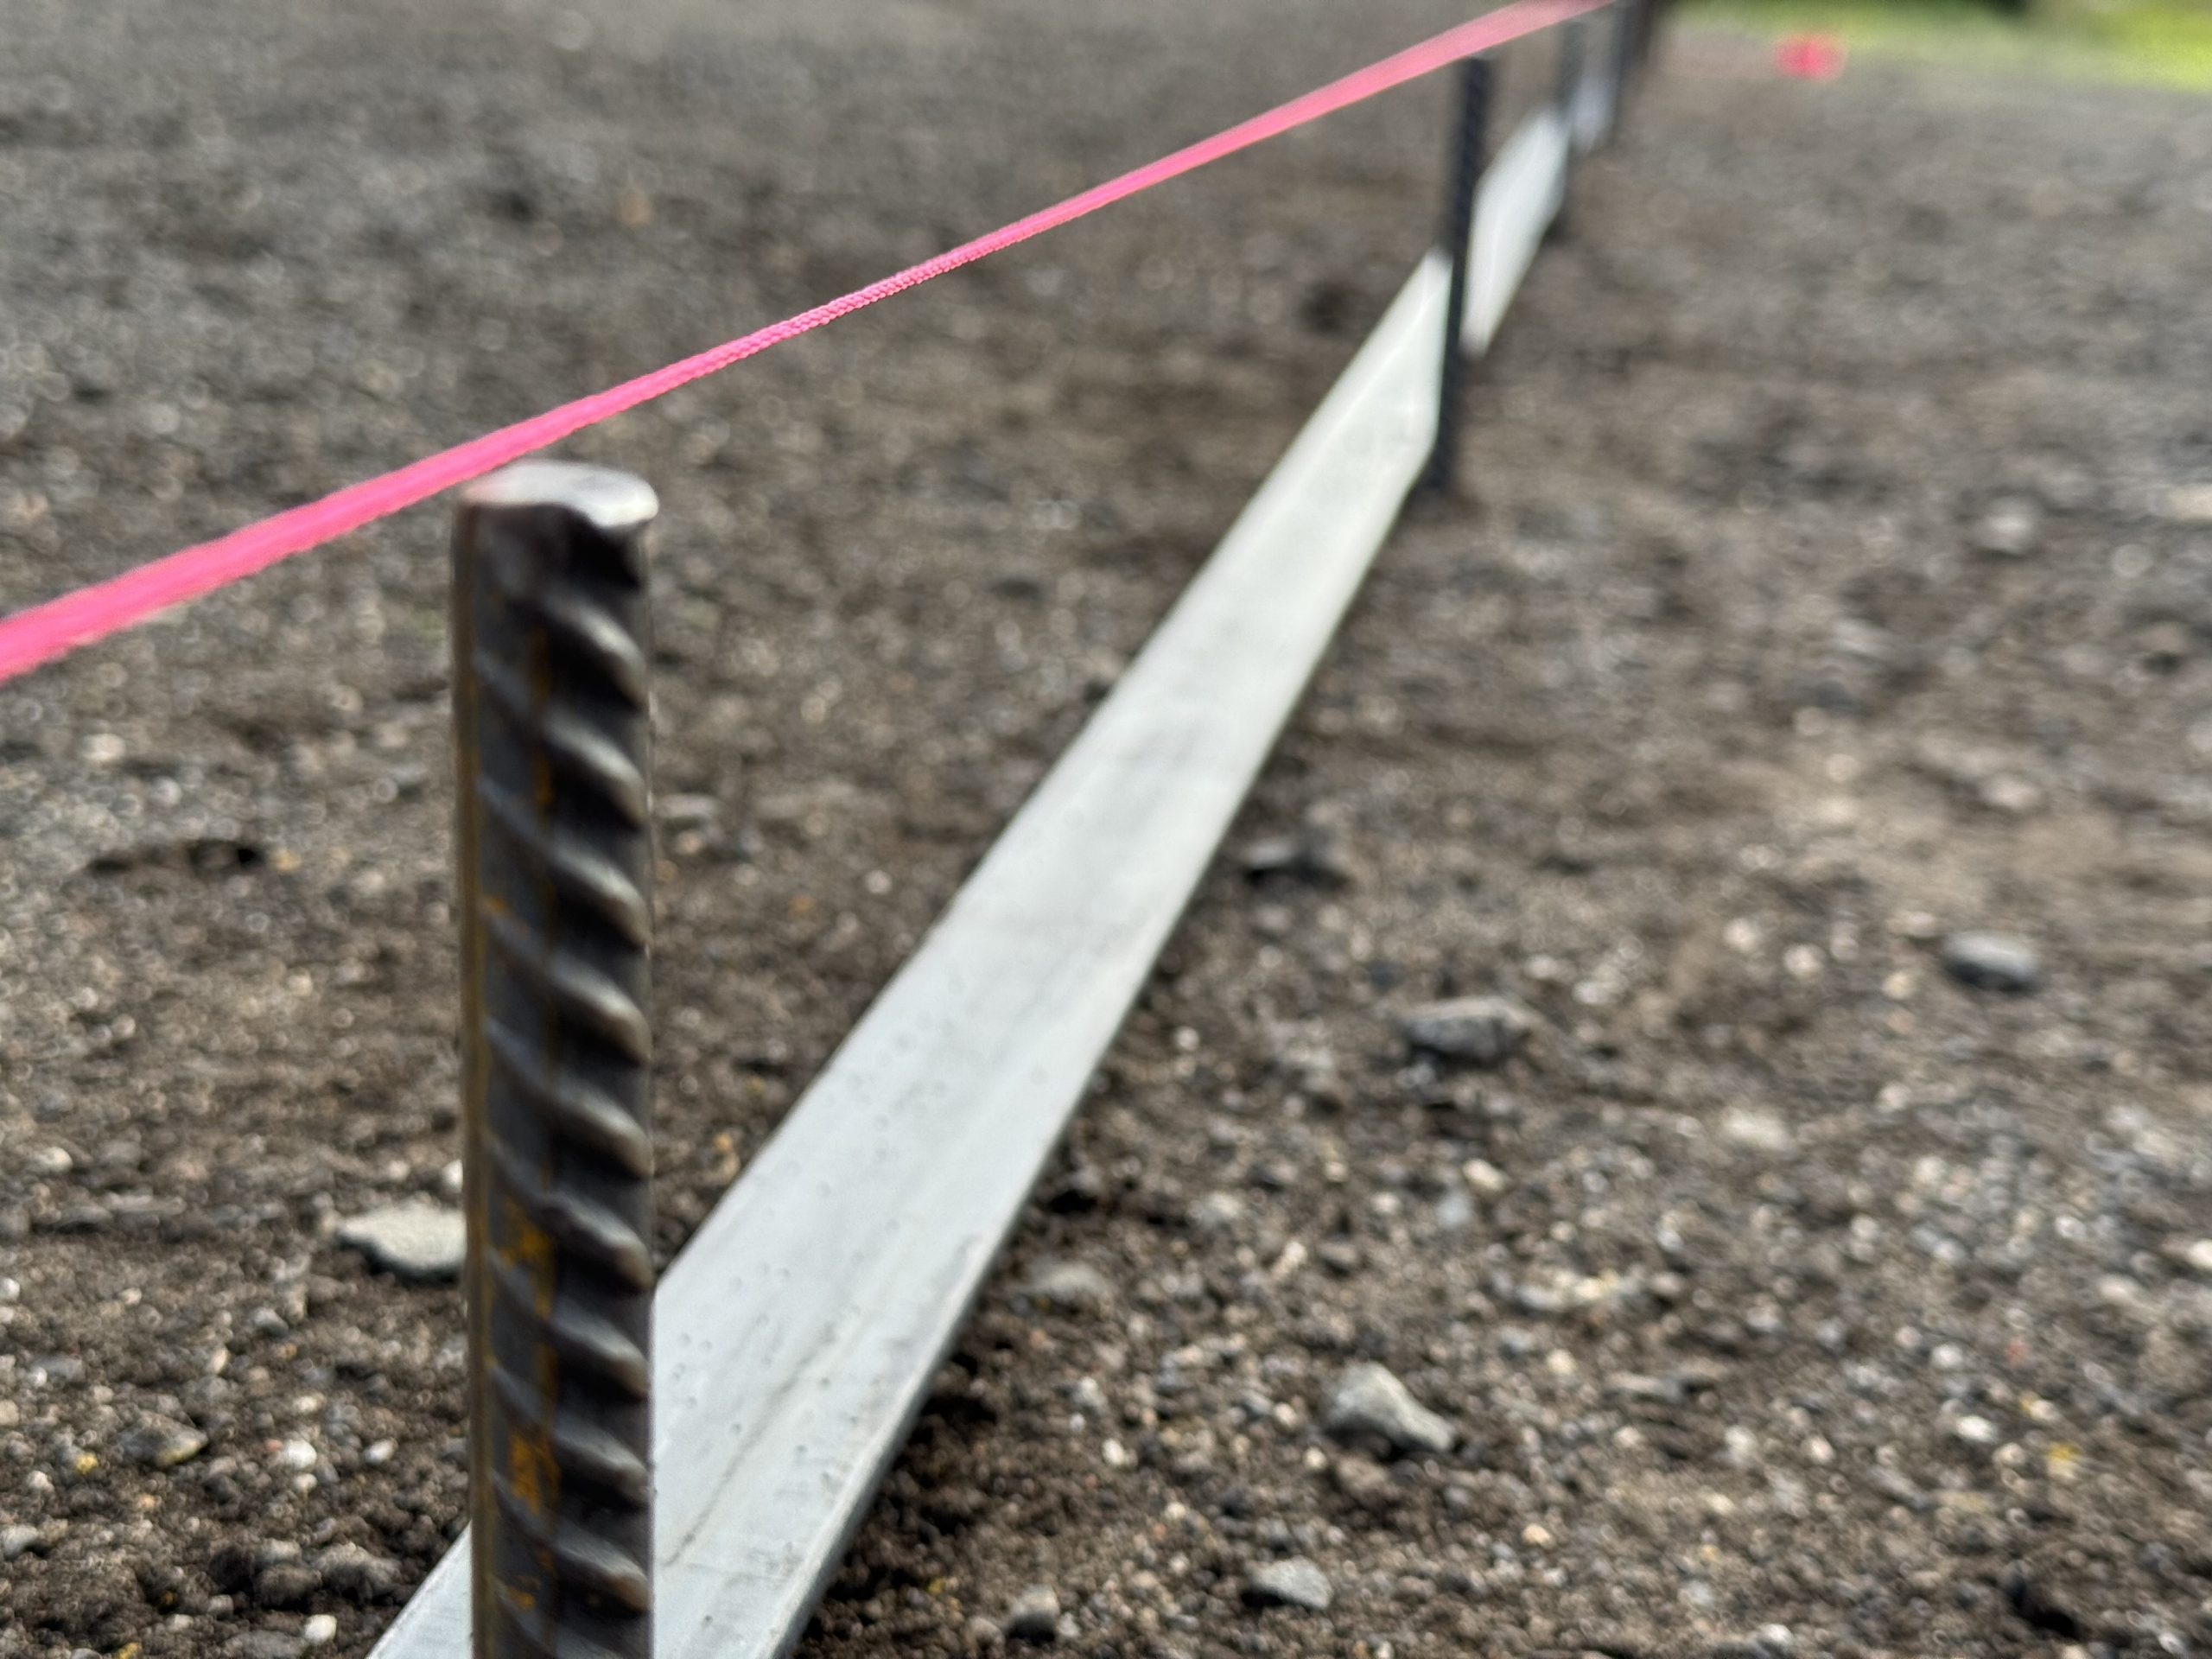
Step 2
Position the first 12mm bars 50-100mm from the end of each flat bar. Place the remaining bars at 1-metre centres. Drive all bars down to the stringline or laser level height.
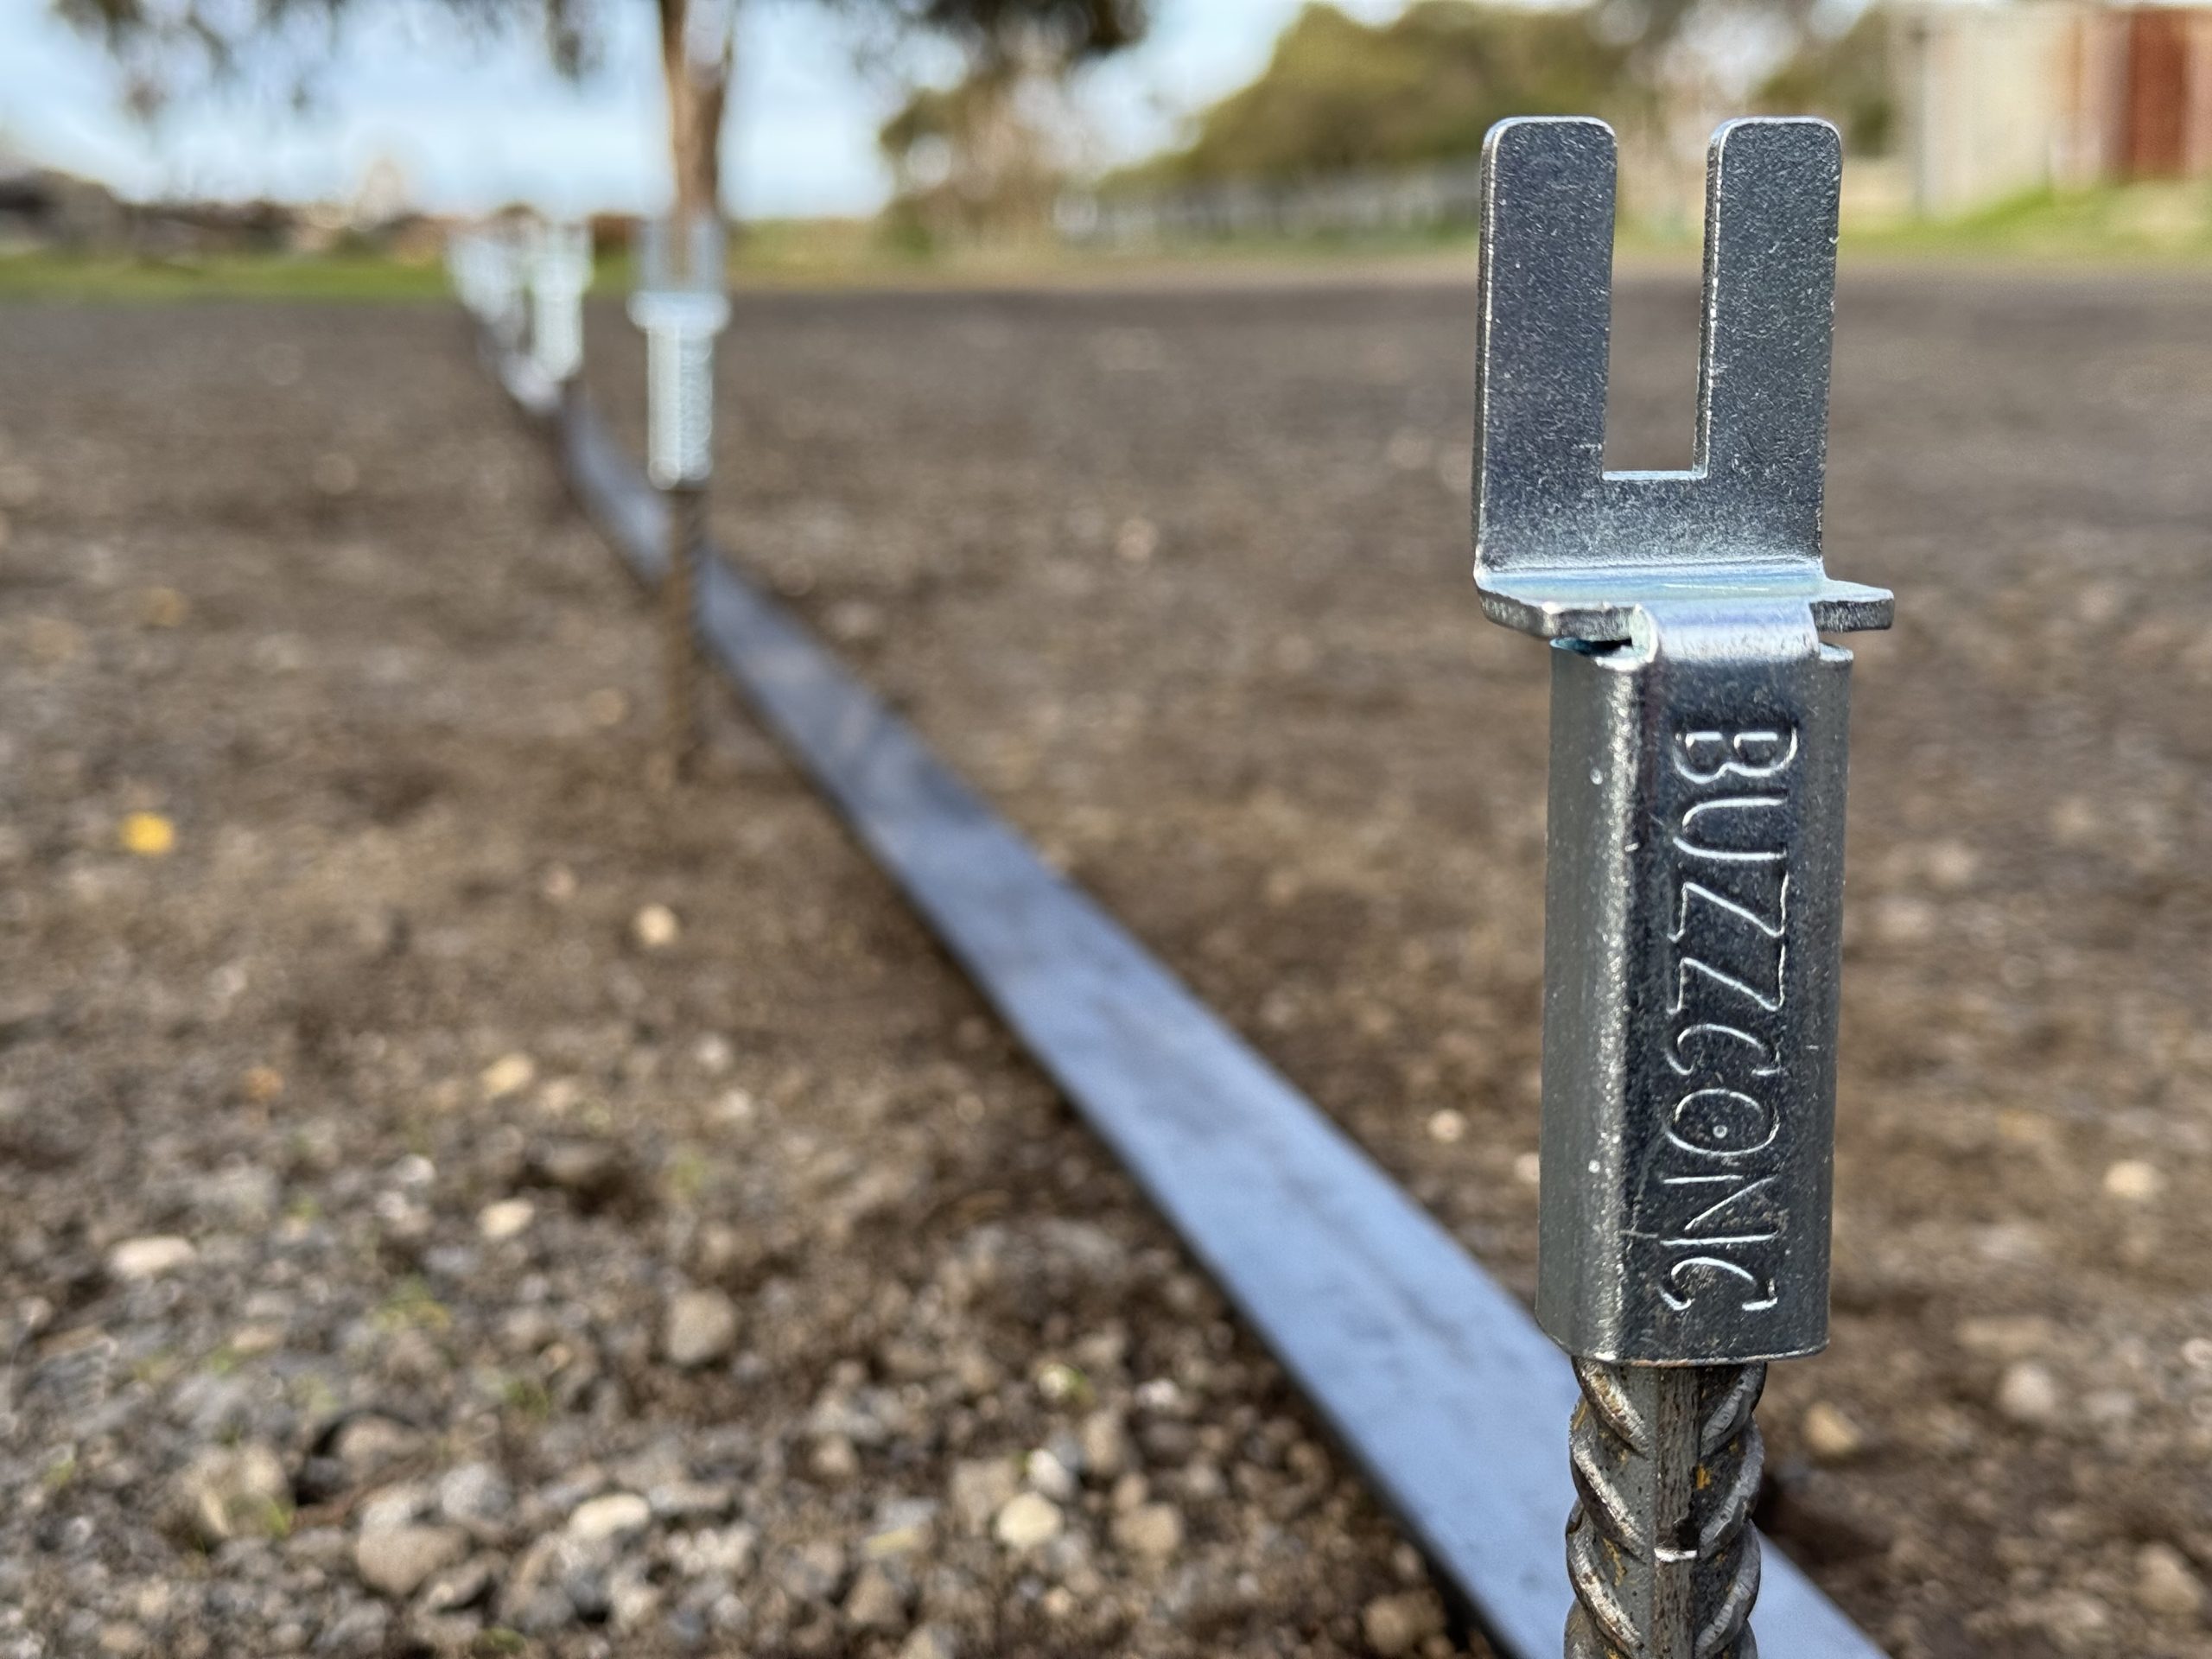
Step 3
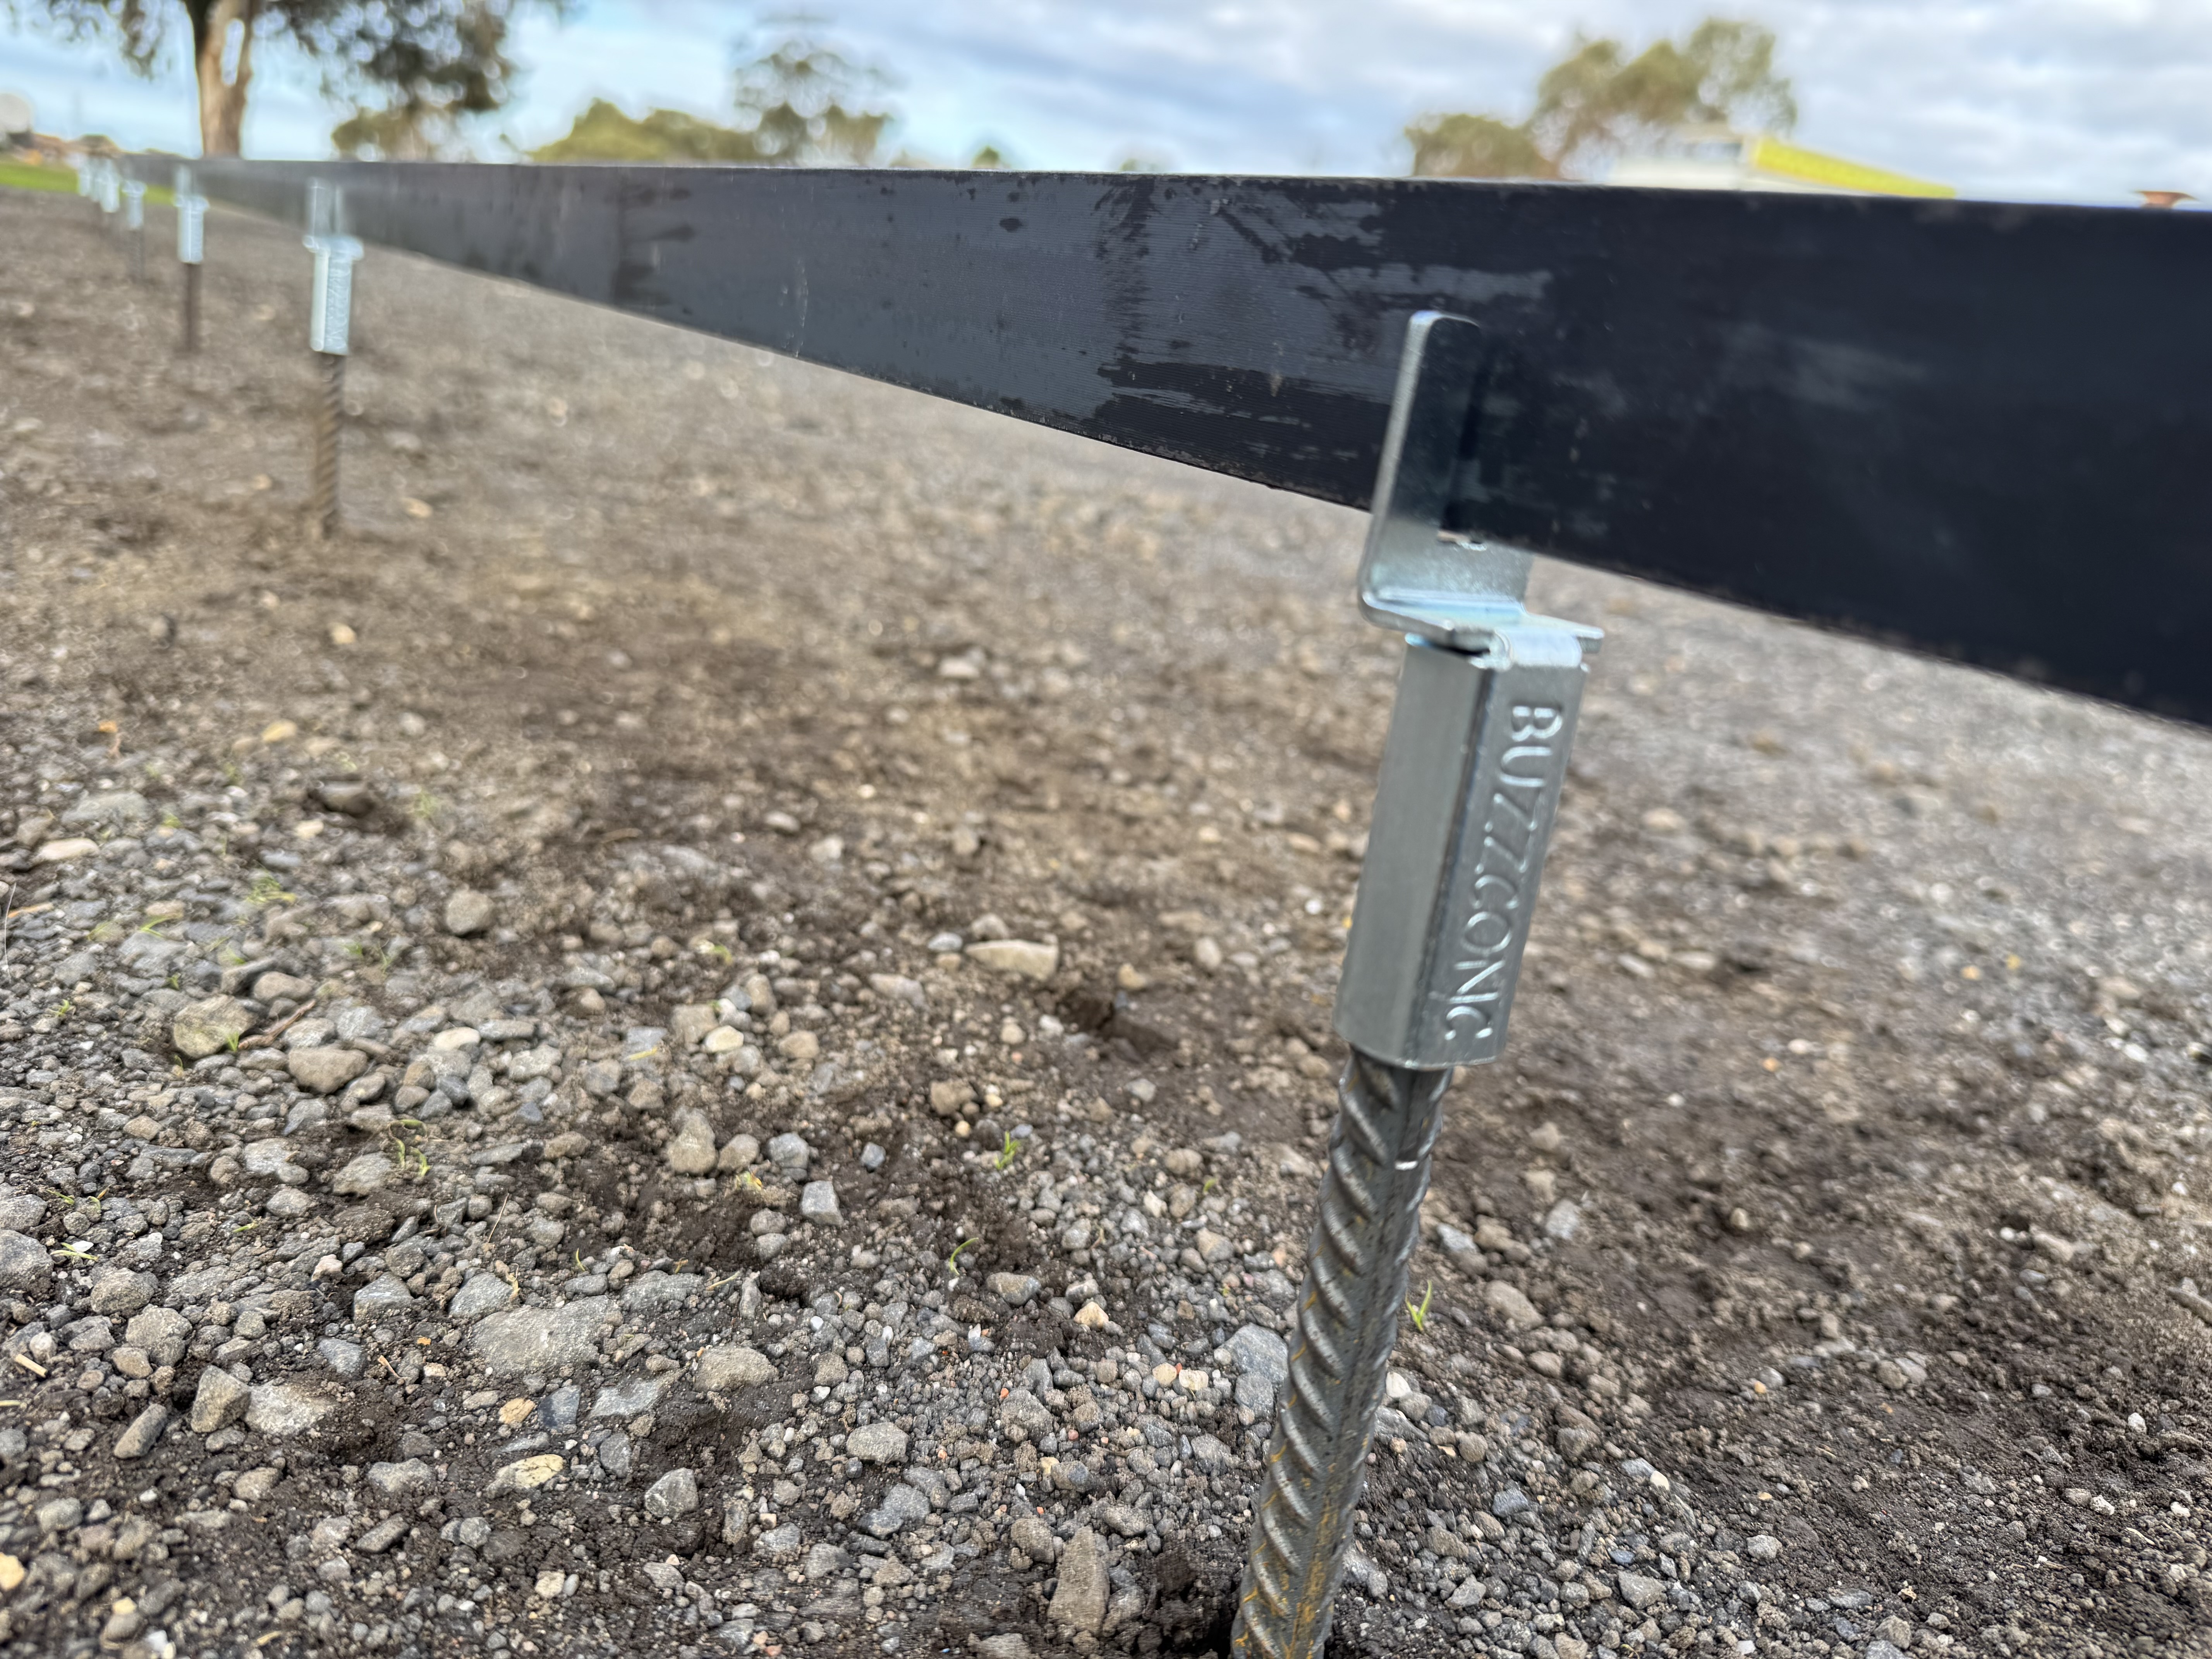
Place the Buzzrail chairs on top of the 12mm bars. Make sure the arrow on each chair is pointing in the direction the flat bar will be removed from the concrete. This ensures smooth removal of the flat bar without jamming
Step 4
Insert the 6mm x 40mm flat bar into the groove on each Buzzrail chair. Double check all levels to ensure they are correct before pouring concrete.
Step 5
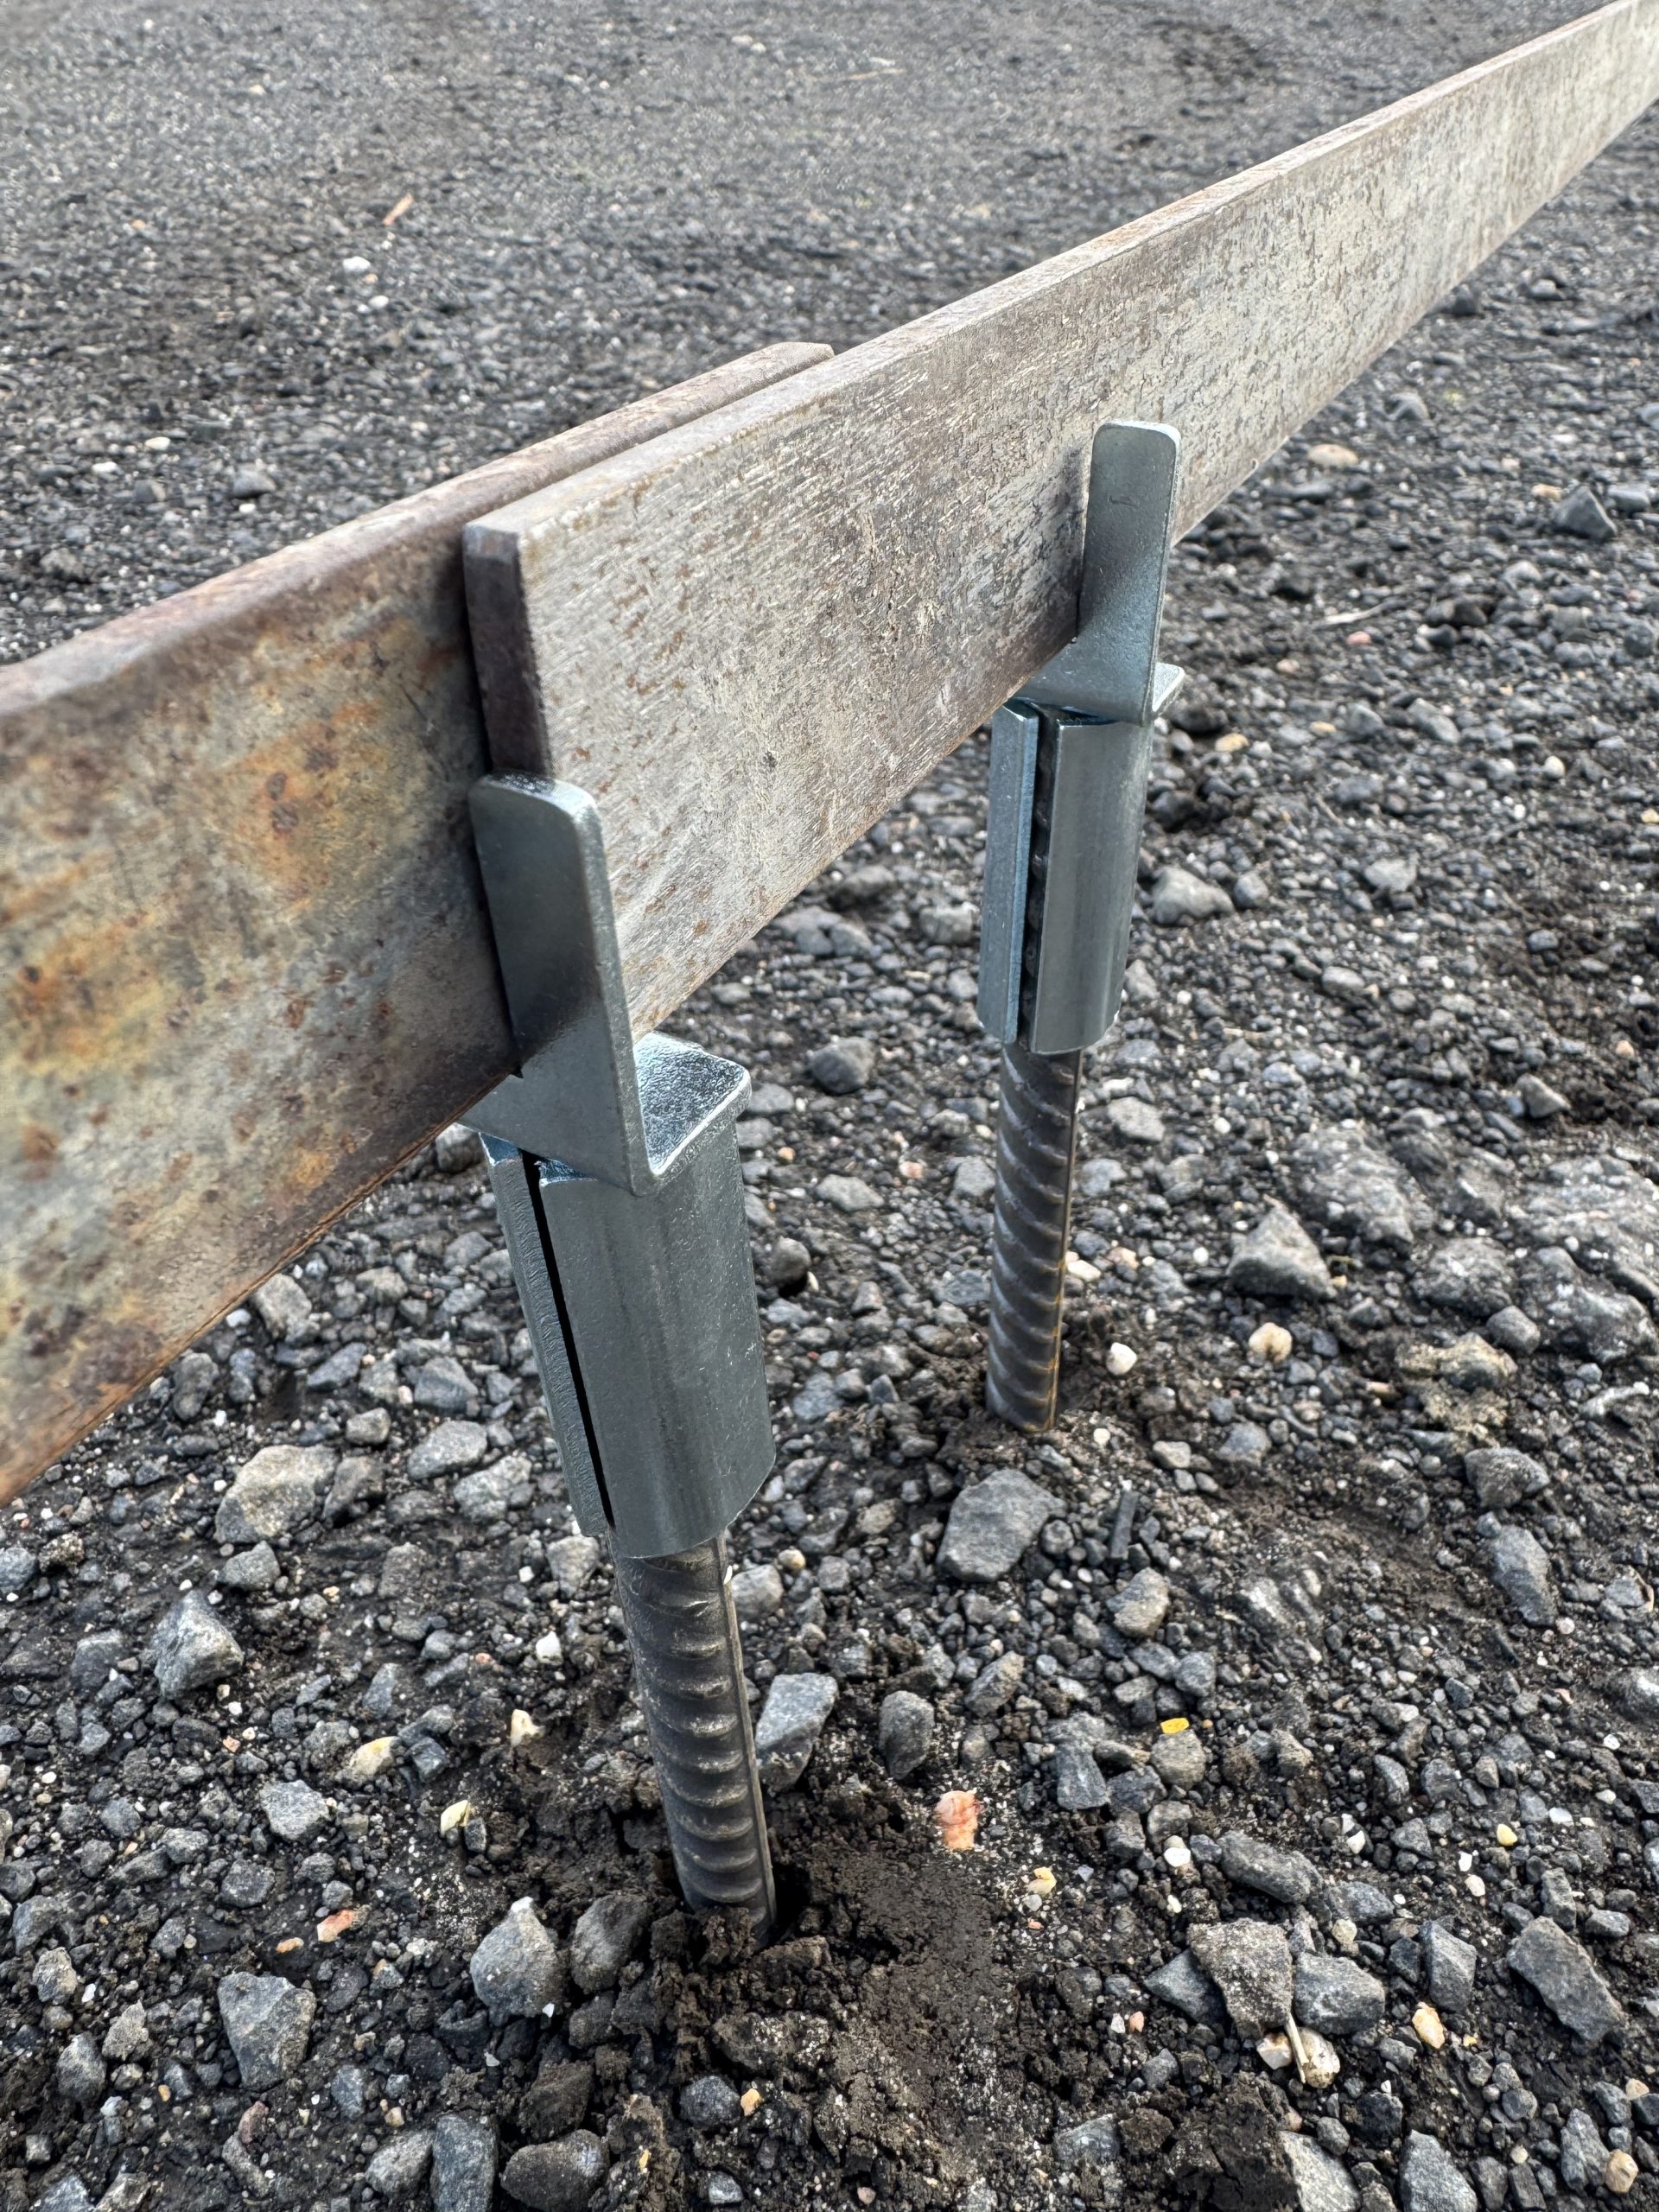
When using multiple screed rails, ensure each rail overlaps the next by approx 50mm. At the end which the rail is pulled out from the concrete, position it against the first Buzzrail chair of the following rail.
This overlap prevents movement and ensures stability during the screeding process.
Important tips
Hammer a peg in behind the last rail to prevent it from sliding during screeding.
When removing the flat bar, keep it as low as possible to reduce bending or snaking.
After removing the flat bar, fill the small groove with concrete and bullfloat concrete.
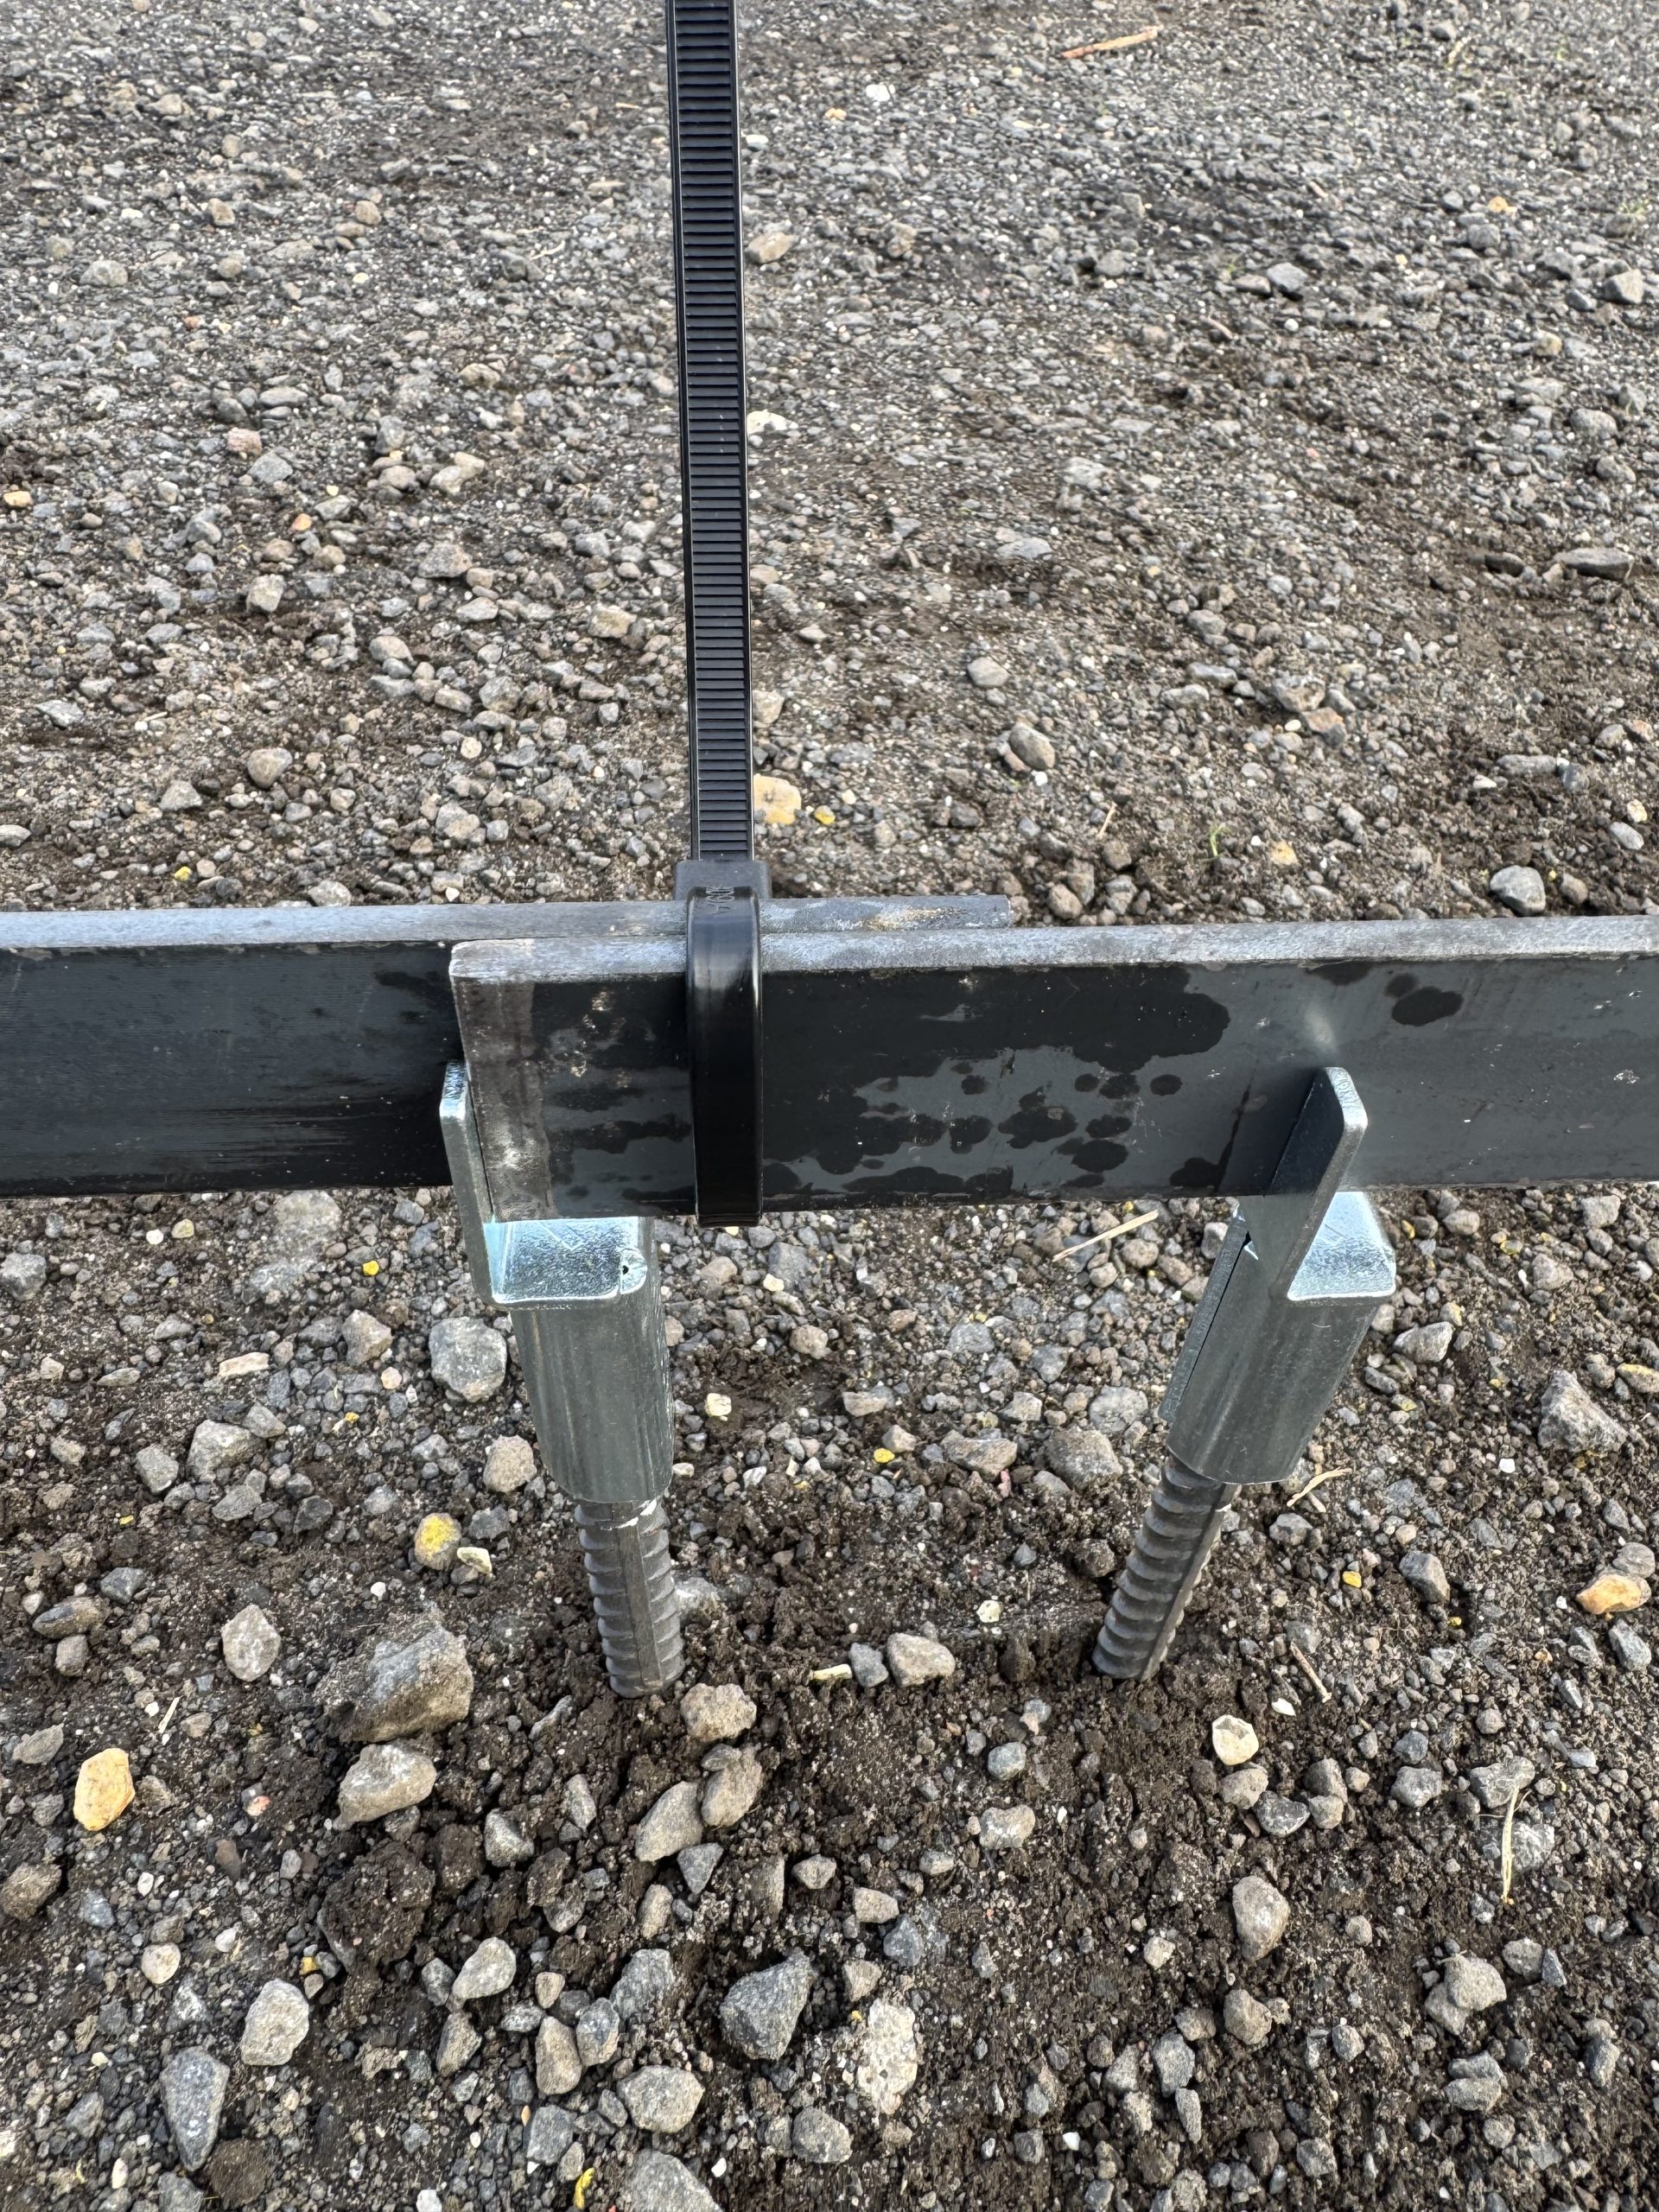
When using multiple screed rails, tie a cable tie around the overlap. This makes it easier to find the end of the rail and helps keep the joint secure during screeding
